
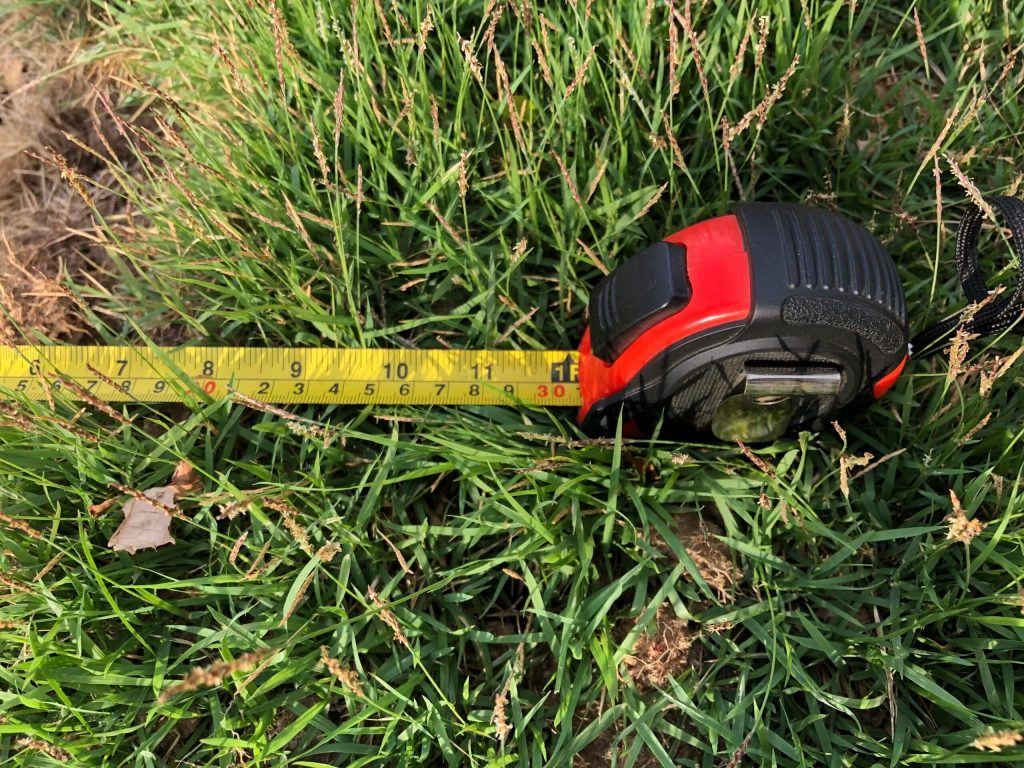
Planning to redesign your outdoor space? Whether you are going for a full garden redesign or simply adding a new patio, planting scheme or seating area, it all starts with one essential step: accurate measurements. Knowing the exact dimensions of your garden helps you make the most of every metre and keeps your design project running smoothly from the start.
This guide walks you through how to measure your garden properly, with practical tips and a few tools that make the process quicker and more reliable.
What You Will Need
For most gardens, a few simple tools are all you need:
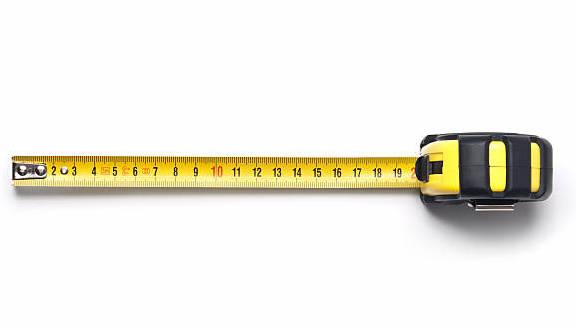
- A long measuring tape (at least 10 metres, ideally 30 metres for larger gardens)
- A notepad and pencil for recording dimensions on the spot
- Graph paper for creating a scaled drawing
- A long string or rope for measuring curved boundaries
Optional extras – a spirit level or smartphone inclinometer app for checking slopes, and a second person to hold the other end of the tape. If you have an iPhone 12 Pro or later Pro model (or an iPad Pro) with a LiDAR sensor, Apple’s built-in Measure app is useful for quick checks, though a physical tape measure remains more reliable for longer distances outdoors.
Step by Step: How to Measure Your Garden
1. Start With a Rough Sketch
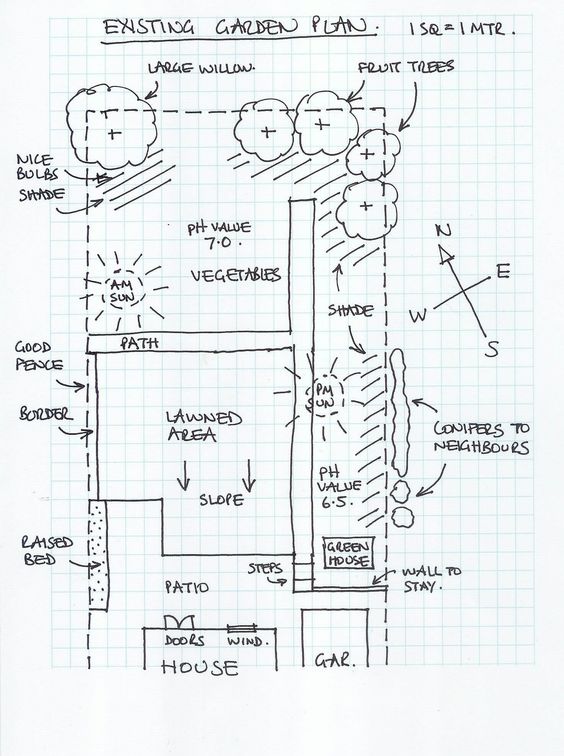
Before you pick up the tape, draw a rough outline of your garden on a sheet of paper. It does not need to be precise at this stage. The purpose is to give you a framework to write measurements onto as you work around the space. Mark the position of fixed features such as fences, walls, trees, sheds, patios and any existing planting beds.
2. Measure the Main Dimensions
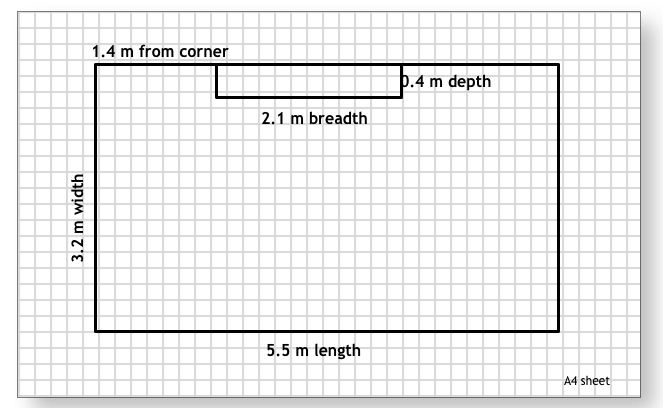
Start with the overall length and width. Work from corner to corner where possible, especially if your garden is rectangular or square. Note each measurement clearly on your sketch as you go. For L-shaped or irregular gardens, break the space into separate rectangular sections and measure each one individually.
3. Record the Position of Fixed Features
Measure the distance from the house wall to key features such as trees, sheds, manhole covers and boundary fences. These reference points are essential for any designer or landscaper working from your measurements. Note the position of external taps, drains and any overhead cables as well, since these affect where structures and planting can be placed.
4. Measure Curved Edges
For beds, borders or paths with curves, lay a length of string along the edge and then measure the string. This gives a close approximation of the total length. For particularly dramatic curves, sketch them freehand on your layout and note both the overall span and the depth of the curve at its widest point.
5. Calculate Areas
If you need to work out quantities for turf, gravel, paving or decking, a couple of simple formulas cover most cases. For rectangular areas, multiply length by width (for example, 6m x 4m = 24 square metres). For circular areas, measure the diameter and use Area = 3.14 x (radius x radius). These calculations help you order the right quantity of materials and avoid both waste and shortfall.
6. Note Any Slopes or Changes in Level
If your garden is not flat, record where the slope begins and ends, and estimate the height difference if you can. A spirit level placed on a long straight plank gives a rough reading over short distances, and for steeper gradients a smartphone inclinometer app provides a quick approximation. This information matters for drainage planning, retaining walls and plant selection, since some species thrive on slopes while others need level ground.
7. Create a Scaled Drawing
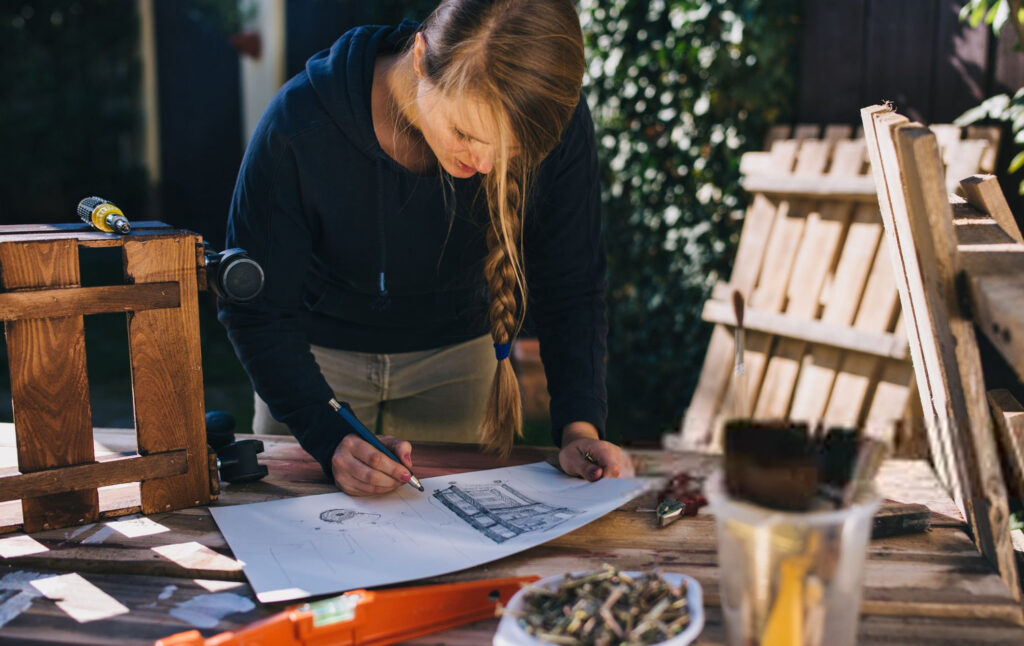
Once all measurements are recorded, transfer them onto graph paper to create a bird’s-eye view of your garden to scale. A scale of 1:50 works well for most urban gardens (where 2cm on the paper represents 1 metre in real life). For larger plots, 1:100 may be more practical. This scaled plan becomes the foundation for any design work, whether you are planning the layout yourself or handing it to a professional garden designer.
Useful Tips for Getting It Right
- Double-check your main boundary measurements before buying any materials. Even small errors compound quickly when ordering paving or fencing.
- Visit the garden at different times of day to see how sunlight and shadow move across the space. Note which areas are in full sun, partial shade or full shade, as this directly affects planting choices and where you position seating.
- Photograph your garden from multiple angles alongside your measurements. Photos give context a plan alone cannot capture, particularly for levels, sight lines and the condition of existing features.
- Note which direction the garden faces (north, south, east or west). It is one of the first things a garden designer will ask, and it affects everything from planting to where to place a dining area. It is central to the sun-led thinking behind our urban garden design.
Can You Use Google Maps to Measure Your Garden?
Yes, but only for rough estimates. Google Earth and Google Maps both include measurement tools that let you plot distances and areas from satellite imagery. The Measure Distance tool in Google Maps gives a basic overview, while Google Earth’s ruler tool offers slightly more detail for larger or irregular plots.
These tools are useful for getting an initial sense of scale or checking your on-site measurements against an aerial view. But satellite imagery is not precise enough for detailed garden design work. Features like walls, fences, overhangs and planting beds are often not visible or are distorted. For any serious project, on-site measurements are essential.
Our Professional Survey Service
If your garden is complex, has significant level changes, or you simply want the confidence that every measurement is precise, we offer a full garden survey and measurement service for £299 in London and the surrounding areas. It includes a detailed scaled plan with all dimensions, levels, drainage points and existing features recorded accurately.
A professional survey removes the guesswork and gives your designer or landscaper the exact information they need to produce accurate plans and costings. It is particularly worthwhile for gardens with multiple levels, mature trees, or boundaries that are not straightforward, and it feeds directly into a planting plan that suits your conditions.
Ready to Start Designing?
Once your measurements are complete, the creative work begins. Whether you are planning a planting scheme, a new seating area or a complete garden redesign, accurate dimensions are the foundation for a well-planned design. A clear survey also makes it easier to plan for the things that make a garden easy to live with, from the layered look of our naturalistic and urban gardens to the practicality of low-maintenance garden design.
If you would like support pulling everything together, our online garden design service guides you from layout and zoning through to planting, materials and lighting. Book a free consultation to talk through your garden.
About the author
Senior Garden Designer
Mirela Bajic is House Designer’s Senior Garden Designer, holding a degree in Garden Design and RHS Level 2 and 3 Diplomas in Horticulture, Garden Planning and Construction. With seven years of experience, she designs imaginative landscapes that blend natural elements beautifully, with a commitment to excellence that shows in every project she takes on.