
Collaborating on a garden design project highlights the significance of teamwork and effective communication. Pinterest, a treasure trove of inspiration, emerges as a pivotal tool in this creative process. This guide will walk you through setting up a Pinterest board tailored to your garden design aspirations, facilitating a seamless exchange of ideas between you and our expert design team. By the end, you’ll have a blueprint that mirrors your vision, ensuring the garden of your dreams becomes a reality.
Leveraging Pinterest for Your Garden Design
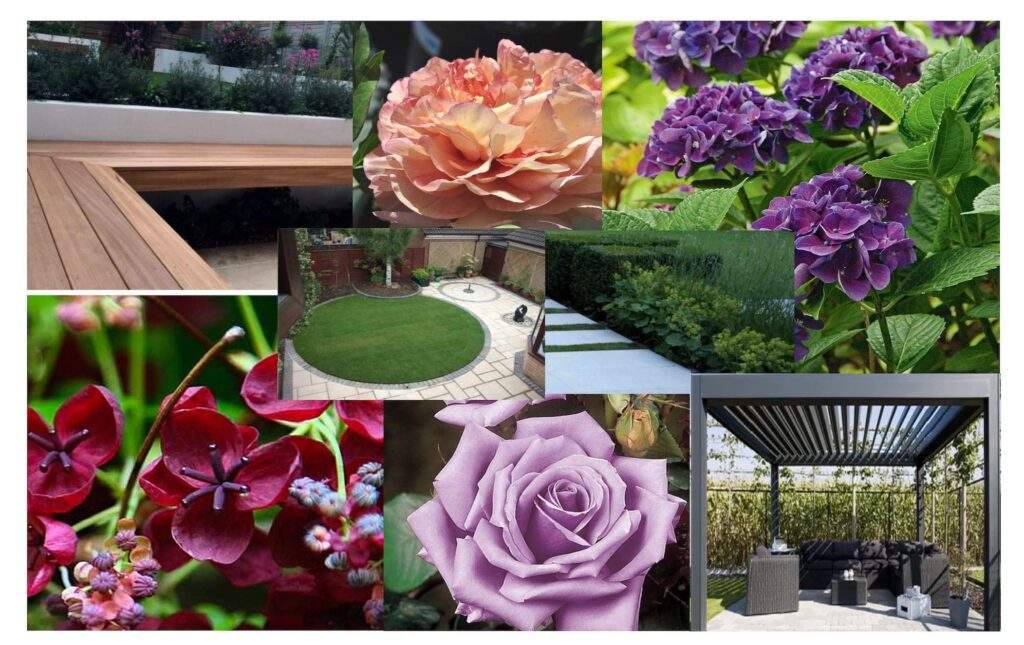
Moodboard by: House Designer
Pinterest serves as a visual compass, guiding you and our garden designers through a realm of potential styles, themes, and specific elements that define your dream garden. This digital mood board allows you to convey your aesthetic preferences, functional needs, and the ambience you wish to create outdoors.
Step 1: Clarify Your Garden Objectives
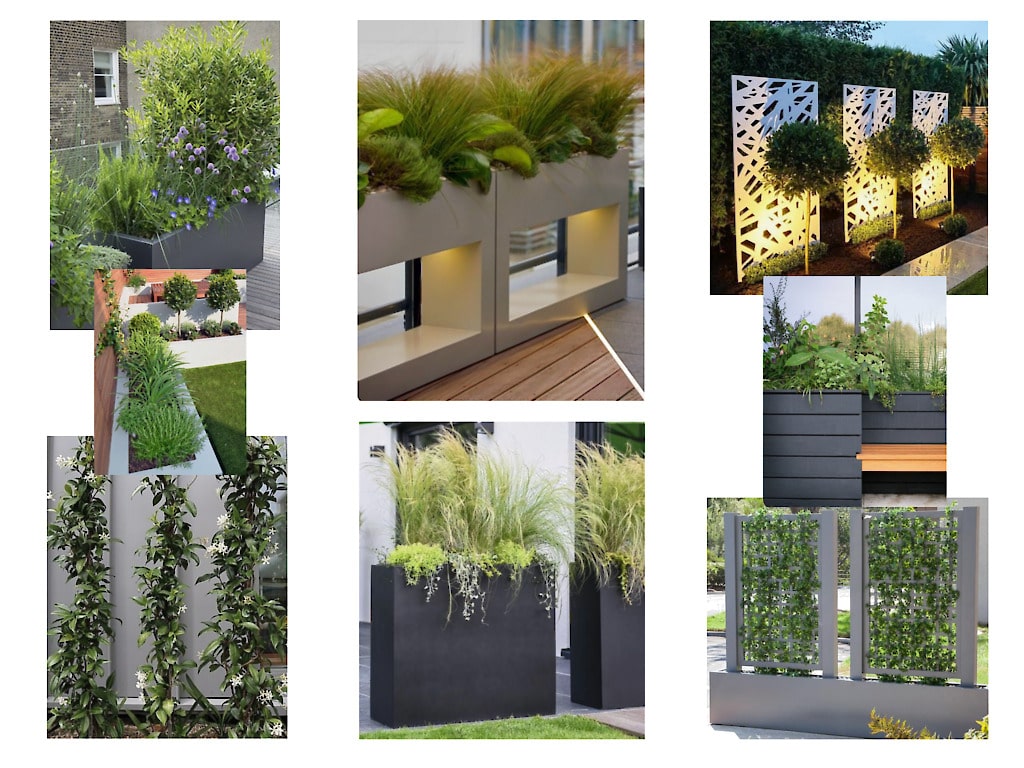
Moodboard by: House Designer
Kickstart your Pinterest journey by pinpointing what you want your garden to represent. Be it a tranquil haven, a lively space for gatherings, or a verdant vegetable patch, understanding your objectives is crucial. This clarity will shape your pinning activity, ensuring our garden designers craft a space that’s a true extension of your lifestyle.
Step 2: Creating Your Pinterest Board
Initiate your project by setting up a dedicated board. Opt for a straightforward, descriptive name like “My Dream Garden Design” or “[Your Name]’s Garden Inspiration.” This approach keeps your vision organised and accessible.
Step 3: Start Pinning

Moodboard by: House Designer
Now, dive into the vast collection of garden designs inspiration, plants, hardscape features, and outdoor furnishings on Pinterest.
The goal isn’t to copy a garden verbatim but to gather elements that spark your creativity and passion.
Step 4: Categorise Your Inspirations
As your board grows, organise it into sections such as “Plant Inspirations,” “Layout Concepts,” “Furnishing & Decor,” and “Lighting Ideas.” This structure enables our designers to understand your preferences comprehensively.
Step 5: Collaborate with Our Garden Designers
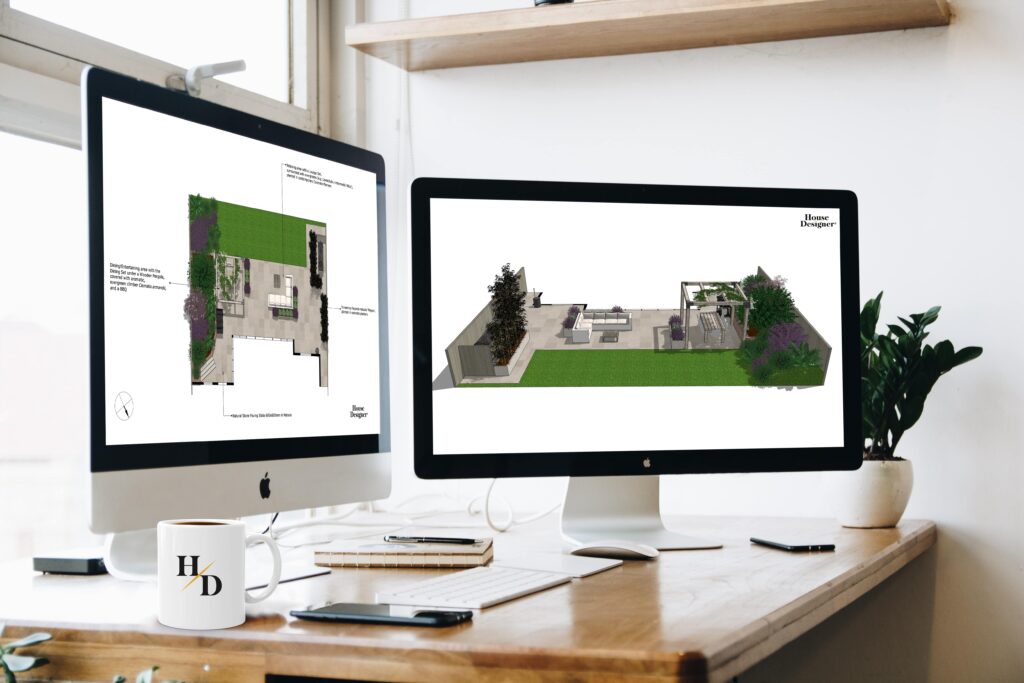
Image credit: House Designer
When your board fully captures your garden vision, share it with us. This step eliminates guesswork, allowing us to grasp precisely what you desire for your garden. We encourage open discussions about your pins, helping us delve into what each image represents to you.
Maximising Collaboration: Tips for Success
- Be Selective yet Flexible: Prioritise pins that resonate with you, but remain open to our team’s creative alternatives.
- Detail Your Pins: Utilise the description box to explain what draws you to each image, be it the colour palette, plant diversity, or the ambience.
- Keep Your Board Dynamic: As your preferences evolve, update your board to reflect your current tastes and ideas.
Fostering a Creative Collaboration

Moodboard by: House Designer
A thoughtfully curated Pinterest board does more than compile attractive images; it lays the groundwork for a fruitful collaboration with our garden design team. It ensures we commence with a clear understanding of your preferences, maintaining alignment from concept to completion.
This collaboration not only simplifies communication but also enhances the creative journey, guaranteeing a final garden design that embodies your personal taste and meets your practical needs. Together, let’s embark on this visual exploration and bring your ideal garden to life.